
I take part in a sewing swap where we send each other material, sew something from the material we receive and then mail it back. This swap was a scrap fabric swap. We sent each other as many scraps as we could stuff in a gallon size ziploc bag. I decided to use my scraps to make my friend Kelti a fabric bowl (or 2).
Want to make one?
Here's what you need:
sewing machine (or you can sew the pieces together by hand)
hot glue gun
fabric scraps
piping
box 'o Wheaties
(This is the piping that I used: Wright's 12/32" **found at Wal-Mart)

Let's get started:
1. Trim your fabric scraps into long strips. Roughly 1.5 inches wide. The length doesn't really matter and neither does neatness (see mine!).
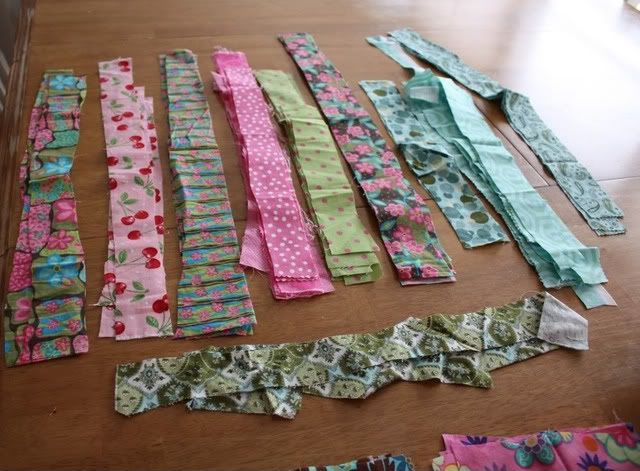
2. Sew together about 4 or 5 strips, right sides facing using a top stitch. Trust me; only do 4 or 5!! You'll have a nice long snake of fabric.
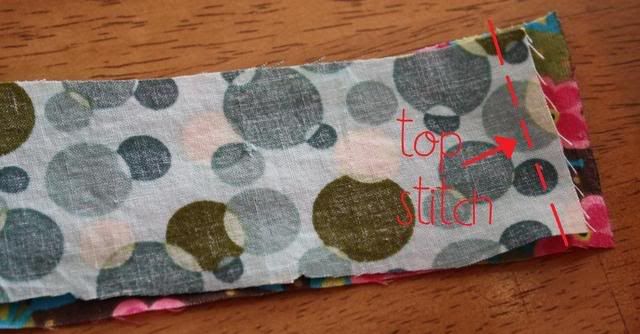
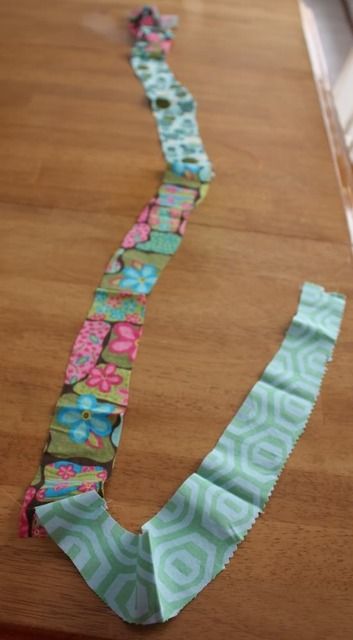
3. Eat a big bowl of Wheaties (you'll need them to nourish you through this long process). Wrap your fabric around the end of the piping.
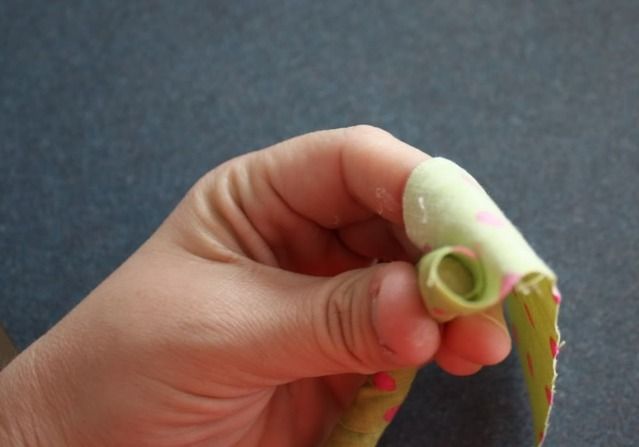
4. Fold the top down over the end and hot glue into place. Start wrapping.
(These pictures were taken at the end, but the same concept applies at the beginning.)
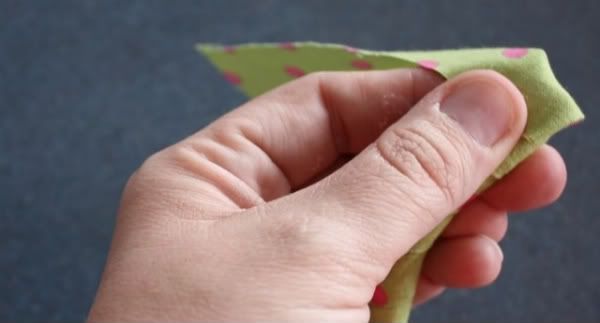
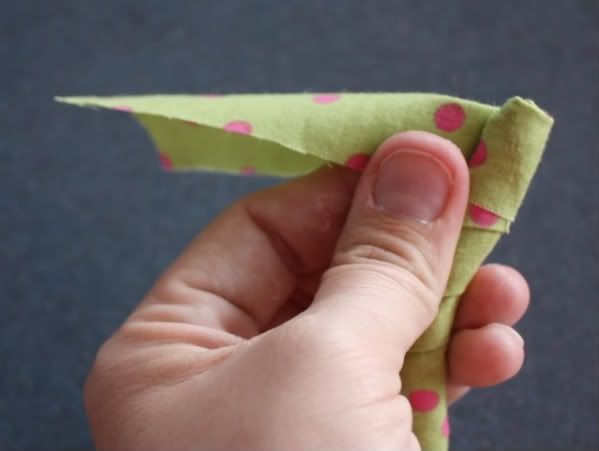
5. As you wrap the fabric snake around your piping, keep the top edge folded down to create a smooth edge around the piping.
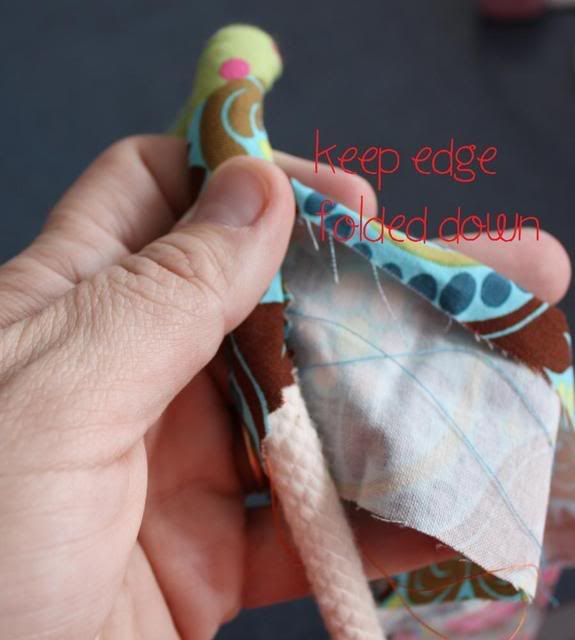
6. Continue to wrap the fabric, hot glue the fabric to itself AND the piping as you work. (about every 2 to 3 inches or so)
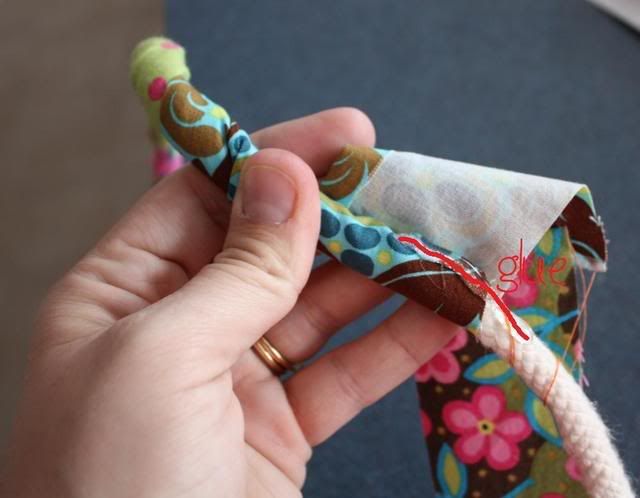
7. Keep wrapping and gluing (Glad you ate those Wheaties aren't you?).

8. When you get to the end of your fabric snake, sew some more fabric lengths on to the end (again only 4 - 5 pieces); until you have enough fabric to cover the piping.
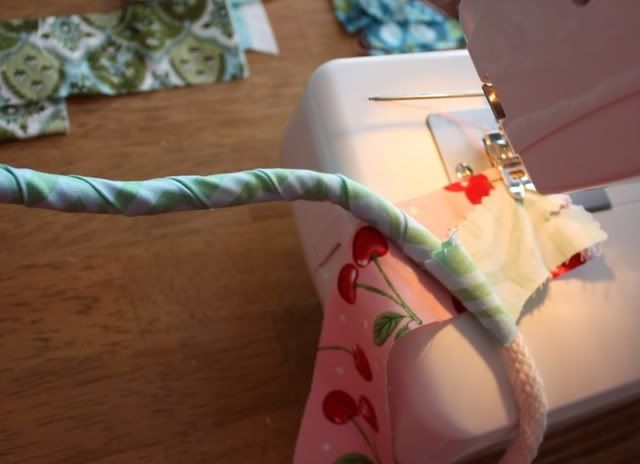
9. Finish the end like you did at the beginning and you'll have 6 feet of beautiful piping.
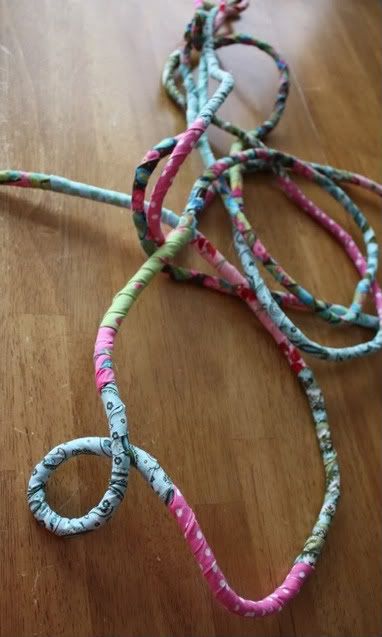
10. Start coiling your piping to make the bottom of the bowl. Hot glue the coils together as you go (every .5 to 1 inch).
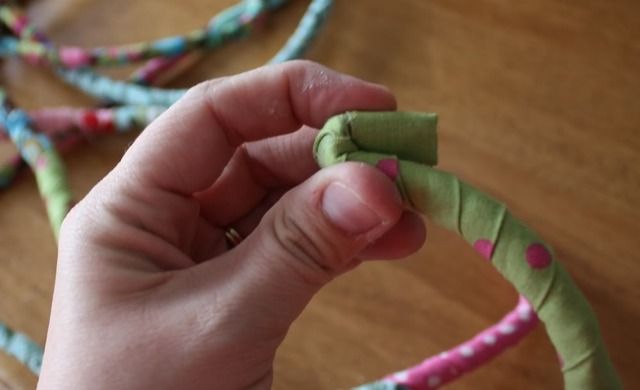
11. Coil and glue. Coil and glue.
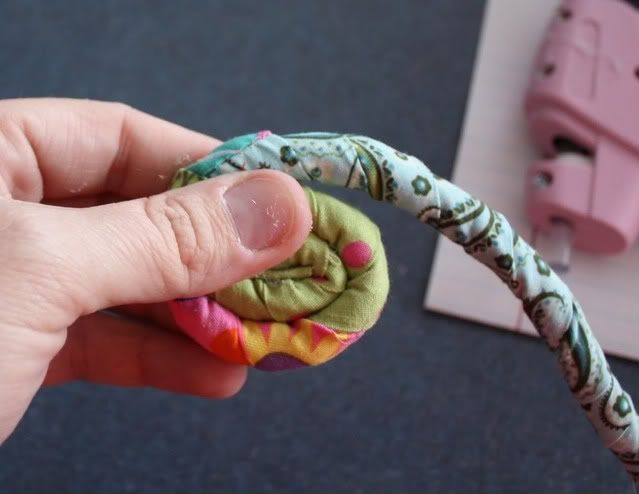
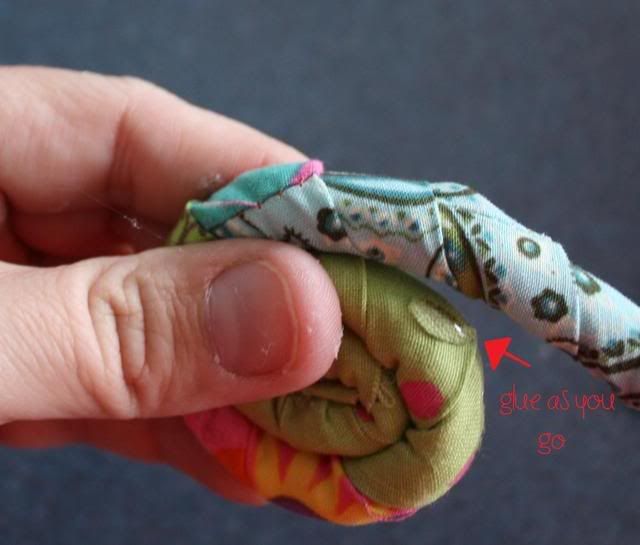
12. Start building up the sides of your bowl. If you've ever thrown pottery, it's very similar. Just start to creep the sides up slowly.
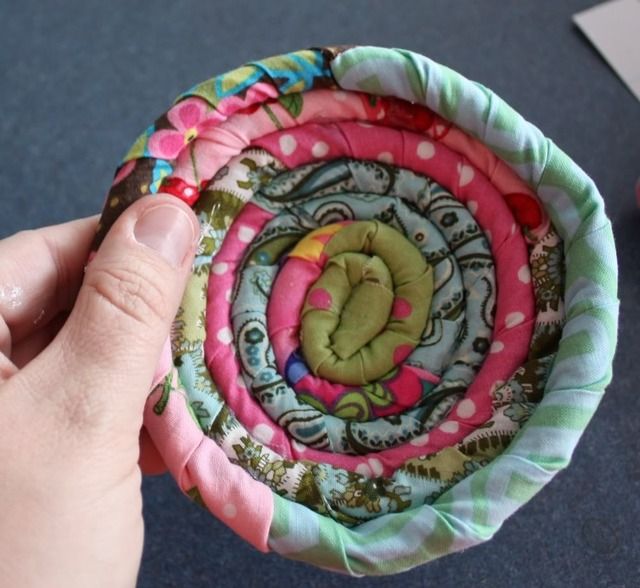
13. Continue to build the sides and glue.
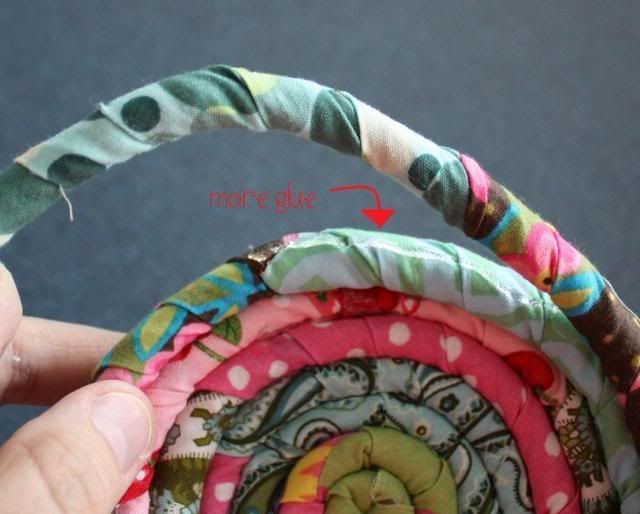
14. Size and shape will depend on your own personal preference. I decided to stop mine at a medium height and had plenty of more piping to do another bowl. Either way, tuck your end inside a bit so that it doesn't obviously stick up. Glue into place.
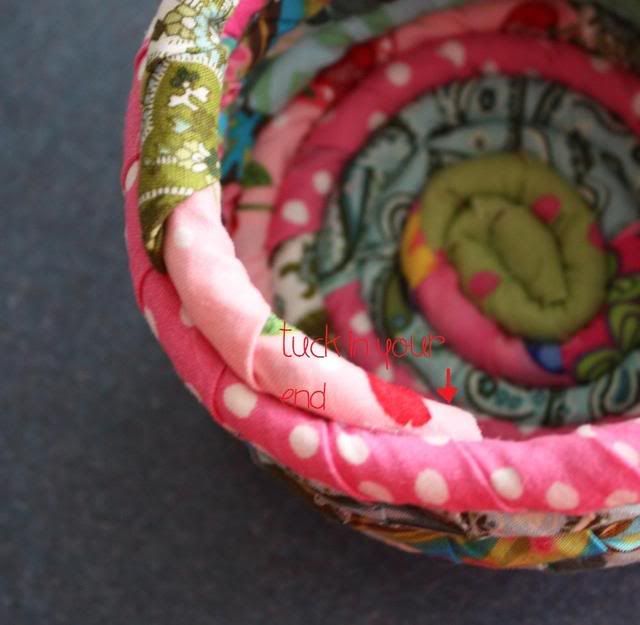
15. Go back and check for lose coils or gaps. Apply more glue as needed.
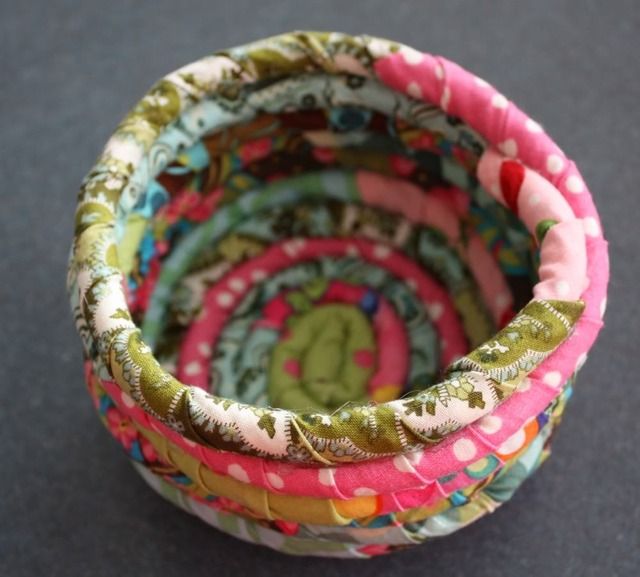
16. TADA! A beautiful scrap fabric bowl!
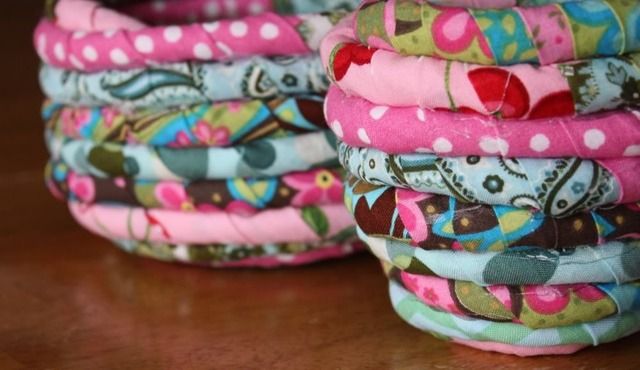
I think that any mixture of fabrics would work well. When I sewed together my fabric snake I used the same pattern (sequence of fabric), but you could do anything you wanted!


15 comments:
very nice Lisa!
Those are adorable! Seriously, where do you find the time, between 4 kids (5 if you count Archie) and going to school??
I love this! My scrap bin is overflowing, so this is heading to the top of my to-do list.
You are so clever! I love what you did but most of all, I love the combination of the fabrics. A gem.
What a great way to use up scraps! Your bowls turned out really cute!
Good Lord woman, you are fantastic! I love reading your blog, and you have the most wonderful ideas. This will be added to my list promptly! I have left over flannel that I think would look cute.
VERY nice photos!!!
THANKS for stopping by my site and commenting! I'm so glad you did or I might have missed this AMAZING tutorial! I'm DYING to do it!!! I'm a little intimidated, I have to tell you, but it's so freak'n awesome, that I've gotta have one! lol Seriously fab!!!
Oh my goodness - I LOVE these!! What a fun idea!!
Where do you do the material swap? That sounds like a fun group!!
{BTW: Sorry I totally abandonned you after saying I would help with your layout and text - life got really crazy and a TON of things got dropped....And I LOVE your new header - super cute!!)
CUTE! Almost makes me want to learn to sew. ;)
Very cute! I can picture one with holiday fabric... only I don't sew. :-/
adorable. i want to make one (or 20)!
Dear hip mom. Such a fantastic project. I"m going to do this with kids I teach, and you did such a GREAT job photographing and explaining the process. Thank you so very much!
I'd like to talk about this tutorial(with a link to your original post) on my Italian blog (www.leideedellavale.blogspot.com). If possible, I'd like to post an immage,too (to show the result of the tutorial). Can I?!
Thanks
Valentina
I am glad I found your tutorial....I was trying to make these as Easter baskets. I was following directions from a magazine (Spring 2012 Better Homes and Gardens Quilts and More) and had a horrific time trying to hand sew the coils together. I am headed to the craft store today to buy a hot glue gun - so much easier than trying to sew the coils together. I was getting so frustrated and was ready to abort the project - now there is hope - thank you
Post a Comment